


Key Takeaways
- Customizing your bike can enhance both performance and personal style.
- Versatile modifications include electric and cargo add-ons, and even DIY trailers.
- Aesthetic changes range from paint jobs to dynamic lighting and sound systems.
Looking to jazz up your two-wheeler?
Bicycle modifications can transform the cycling experience, from the practical to the peculiar.
Your bike is more than just a ride; it's a canvas for creativity.
DIY mods can turn an ordinary bicycle into a personalized work of art that stands out from the pack.
Cyclists from around the globe have come up with some wonderfully inventive ways to upgrade their bikes.
Whether it's boosting performance or adding a splash of style, these tweaks demonstrate just how much you can achieve with a little ingenuity and perhaps a toolset.
Our advice comes backed with hands-on experience and a thorough understanding of what makes cycling enthusiasts tick.
Electric Bike Conversion
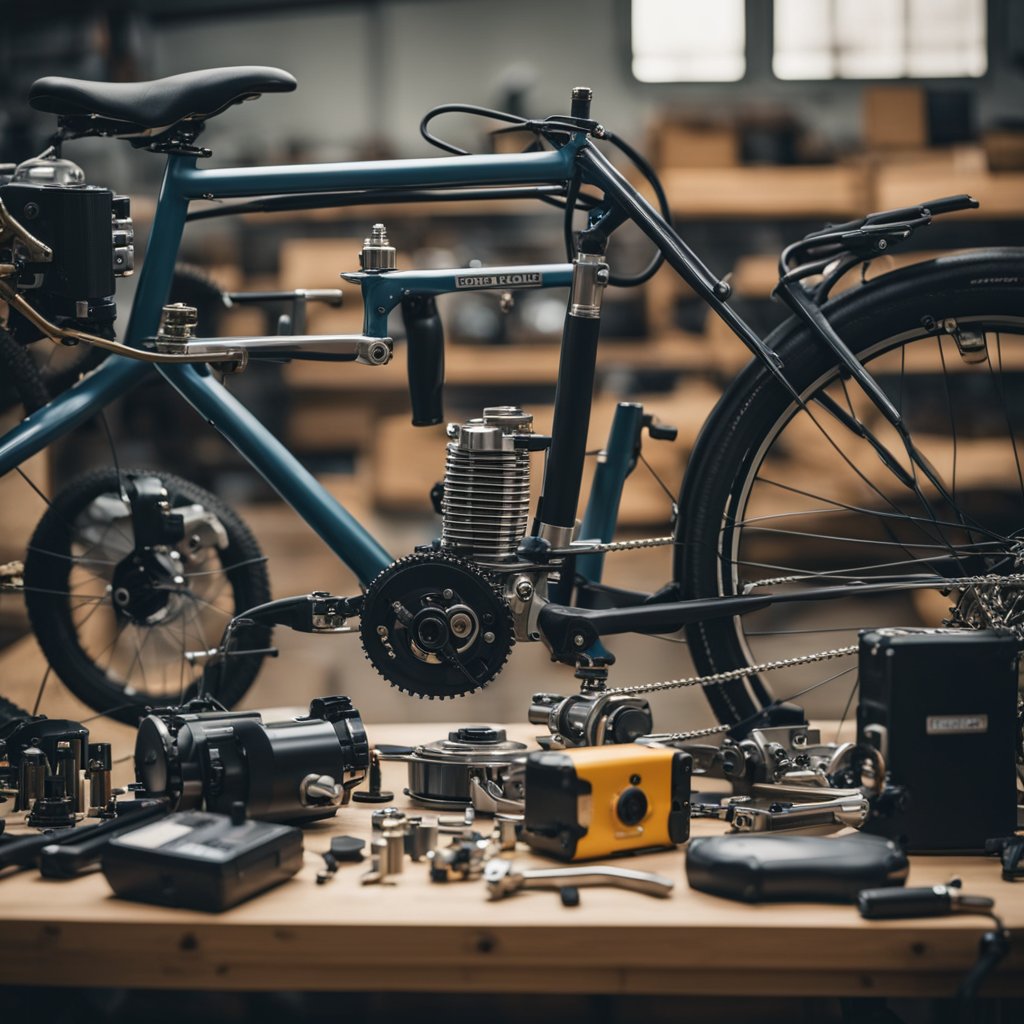
Ever thought about zip-zapping up those hills with a breeze, without breaking a sweat?
The answer might just be an electric bike conversion kit – your golden ticket to upgrading that trusty old bike into a modern marvel.
What's included?
Typically, a conversion kit comes with:
- A motor (either hub type or mid-drive)
- A battery pack
- A controller
- Additional accessories like displays and sensors.
Getting started, you'll want to match the kit to your bike's type.
Road cyclists?
Consider a lightweight hub motor.
Mountain bikers?
A mid-drive motor offers more oomph for rough terrains.
-
Choose the right configuration:
-
Front hub easier installment, balanced ride.
-
Rear hub better traction, slightly tricker installation.
-
Mid-drive for that authentic feel and serious torque.
-
Battery size affects range:
-
A larger battery might take you 50 miles or more on a single charge.
-
Personalize it:
-
Pick a display you love.
-
Custom front chainring sizes shape your ride feel.
Installation savvy?
You'll need basic mechanical skills and maybe a friendly YouTube tutorial!
Kits vary in difficulty, so assess your techie level first.
Remember, when in doubt, consult a professional – safety first!
Now, imagine cruising effortlessly, leaving those stuck in the past pedaling hard in your dust.
Fancy, huh?
Go on, transform your ride and feel that wind in your face – no gasping for air this time!
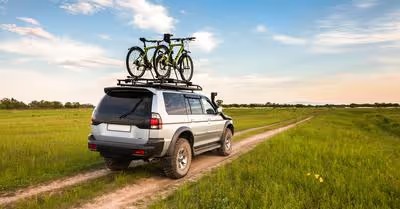
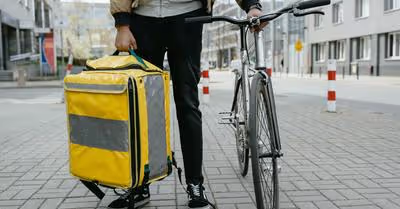
Cargo Bike Conversion

Ever thought of turning your trusty bike into a versatile cargo-carrying companion?
It's easier than you might think!
Whether you're hauling groceries, gear for a day at the beach, or bringing your furry friend along for the ride, a cargo bike conversion can make it all possible.
Here's the breakdown:
- Choose Your Base: Use a sturdy bike as your starting point. Got a classic with a solid frame? Perfect. Mountain bikes are also great for this due to their strength.
- The Transformation: You can either add a cargo space in the front, attach a trailer, or go big with a longtail conversion, extending the rear to carry all your stuff.
- Materials Matter: Opt for durable materials. If you're DIY-ing, steel tubing can be your best friend here. Remember, it has to support the extra weight without bending.
- Stability is Key: A lower center of gravity helps maintain bike stability, especially when it's loaded. Consider using smaller rear wheels if you're going for a longtail mod.
- Attachment Points: Check your bike for existing spots where you can bolt on the cargo system securely. The rear fork stays are crucial here—they'll be doing a lot of the heavy lifting.
Now, wouldn't it be cool to zip through the streets, all your essentials in tow, without a care in the world?
Absolutely!
Give your bike that awe-inspiring upgrade, and you'll wonder how you ever did without it.
Ready to be the talk of the town with your new, multi-functional ride?
Get those tools ready and embark on your very own cargo bike project! 🚲✨
DIY Bike Trailer

Ever thought of how handy a trailer for your bike would be?
Imagine cruising around with your kids in tow or hauling your latest flea market finds without straining your back.
Well, guess what?
You can craft a nifty bike trailer all by yourself!
Firstly, materials matter—you can choose from PVC pipes, sturdy wood, or resilient metal tubing for the frame.
Each has its own perks, so pick according to your expected load and environment.
Got your materials?
Great!
Let's get down to business:
-
PVC Pipes:
-
Lightweight and easy to work with.
-
Create the skeleton of your trailer,
-
Secure with PVC cement for a firm hold.
-
Wood:
-
A bit heftier but strong.
-
Cut to size for the trailer's base.
-
Drill and bolt for a solid structure.
-
Metal Tubing:
-
The heavy-duty option.
-
Weld or bolt pieces for the frame.
-
Ensure it's rust-resistant!
Now, don't forget the hardware—bolts, nuts, and washers will become your new best friends.
You'll need metal brackets to hold everything together.
Remember: skimping on quality hardware may save pennies but cost pounds in safety.
For the attachment to your trusty steed, a bike hitch and coupler are essential.
They should be robust and compatible with your bike.
Attaching and detaching should be a breeze but secure enough to avoid any trailer escape attempts!
Feeling crafty?
You can even repurpose materials like a golf bag caddy for the frame.
It’s not only clever but eco-friendly too!
Keep your dimensions sensible.
Too wide and you’ll be fighting through traffic, too narrow and you might topple over when loaded.
Balance is key!
By the end of your build, you'll have a handy trailer that, dare I say, could carry a small elephant (just kidding, please don't try this).
Get ready to turn heads with your DIY skills and add an impressive mod to your two-wheeled lifestyle!
Custom Paint Job

Ever looked at your bicycle and thought, what if you could jazz it up a bit?
Imagine rolling down the street with a bike that screams "you" from every angle.
Let's get into giving your trusty ride the glow-up it deserves with a custom paint job!
First things first, you'll need some spray paint.
Choose a color that makes your heart sing—maybe it's a classic fire-engine red or a sleek, space-age silver.
Whatever it is, make sure it's high-quality spray paint that's compatible with metal surfaces.
Before you unleash your inner Picasso, let's prep!
Your bike's frame needs to be a blank canvas, which means stripping any old paint and giving it a good sanding.
Aim for a smooth surface; it'll make sure your artwork sticks around for the ride.
Here's what you'll need:
- Spray paint (Your choice of color)
- Primer (Self-etching works best)
- Clearcoat (For that long-lasting finish)
- Sandpaper (To smooth things out)
- Stencils (If you fancy some patterns)
Got your gear?
Great!
Apply a layer of primer first—that's your foundation.
Let it dry completely, and then apply your color in even, sweeping sprays.
If you're feeling adventurous, why not use stencils to add some patterns or shapes?
Pro Tip: Always spray in a well-ventilated area and wear a mask.
Safety is as cool as a custom bike.
Finish off with a clear coat.
This magic layer seals in your color and adds a protective shield, keeping your bike looking fresh for the years to come.
So, are you ready to turn some heads with your two-wheeled piece of art?
Get painting, and make sure to share your masterpiece with the world!
LED Lighting System

Ever pedaled through the twilight hours wishing your bike had a bit more pizzazz and glow?
Say hello to LED lighting systems, the ultimate game-changer for your night rides!
Why LED?
Simple: LEDs are durable, energy-efficient, and come in a rainbow of colors to suit your style.
You'll be turning heads and ensuring you're seen by others, keeping safety and style in check.
Ready to jazz up your bike?
Here’s how you can brighten up your ride:
- Wheel Wonderland: Grab some LED strips and wrap them around your bike's wheels. Not only will you look like you're gliding on light, but those spinning colors also add a layer of visibility to side profiles.
- Frame Flair: Adhesive LED strips can run along the frame. Think of it as outlining your bike in neon!
Have you seen those bikes that look like they’re straight out of a future utopia with all the glowing parts?
Yep, that could be you.
And hey, it's not just about looks.
A well-lit bike means you're more visible on the road, making evening commutes safer.
Curious about battery life?
Most LED light kits are rechargeable, and some can last hours on a single charge.
Plus, they're typically easy to install.
A little DIY session, and you could be lighting up the streets tonight!
So, gear up, get creative, and give your two-wheeler that luminous touch it deserves.
Who needs stars when you can ride around with your very own constellation?
DIY Bike Fenders

Ever ridden through a puddle and ended up with a stripe of mud up your back?
Not fun, right?
Well, you're in luck, because making your own bike fenders can save you from this messy fate, and it's easier than you might think!
Here's what you'll need:
- Sturdy plastic, like a recycled bottle or an old binder
- A ruler and marker for accurate measurements
- Scissors or a craft knife for cutting
- A drill for holes, to attach the fender to your bike frame
- Zip-ties or 5mm bolts and washers for the attachment
Now, let's get crafty!
First things first, measure the width of your bike tires; this is how wide your fender should be.
Cut your material to size, ensuring it's long enough to shield you from spray.
Follow these steps:
- Trace and Cut: Outline the fender shape on your plastic material, and cut it out neatly.
- Drill Holes: Measure and mark where the fender will sit against the bike frame, and drill holes accordingly.
- Attachment Points: For the rear fender, attach it at both the chainstay and seat stay, while the front can be zip-tied to the fork.
Remember, a little slot in the holes can give you that precious micro-adjustment space.
Fine-tune the placement, ensuring your fender doesn't rub against the tire.
Lastly, feel free to personalize it.
Sand down any rough edges for a smooth finish, or if you're in the mood, slap on some stickers for extra flair!
Easy, right?
Now go on, give your bike that personal touch and enjoy a splash-free ride!
Sound System

Ever imagined your bike having its own soundtrack as you cruise through the streets?
It's not as far-fetched as it sounds!
You can mix a touch of tech with your pedal power for an on-the-go concert experience.
Here's how you can gear up:
-
Portable Speakers: The simplest way to add a beat to your bike is by strapping on a portable Bluetooth speaker. You know, the kind you might take to the beach—only this party's on wheels. Ensure it's a battery-powered one, so you're not tethered to any outlets.
-
DIY Speaker System: Feeling crafty? You can create a custom sound system. For a basic setup, you’ll need:
-
A durable basket or bike rack to house your system
-
A reliable, rechargeable battery pack
-
A set of speakers powerful enough to turn heads but not so powerful you're waking up the neighborhood.
-
Some basic speaker wire
-
A 1/8" audio line to connect your music source to the amp.
Putting it together is a bit like a puzzle, matching your components to fit snugly on your bike frame.
Always double-check for safety and make sure nothing will interfere with your riding.
Remember, this is about enhancing your ride, not distracting you from the road.
How amazing would it be to have your own personal bicycle tune booming as you pedal?
Just make sure you keep the volume at a friendly level—not everyone shares our impeccable taste in music, right?
And there you have it—your two-wheel symphony!
Whether you're going for a full DIY build or the plug-and-play route, you'll be turning heads and setting the mood for your very own bike party.
Keep it fun, and stay safe out there!
Bikepacking Setup

Have you ever daydreamed about hitting the trails with nothing but your bicycle and a sense of adventure?
Bikepacking is your ticket to freedom, my friend!
But before you pedal into the sunset, let's chat about turning your trusty steed into a cargo-carrying champ.
It's all about the bags!
You'll want a frame bag that snuggles into your bike's triangle, perfect for heavier items to keep that center of gravity low.
Think about a handlebar bag for easy access to snacks and your map – no one likes a hangry cyclist, right?
Next up, the saddle bag.
This bad boy dangles behind you, gobbling up your sleeping kit and a change of clothes.
Opt for roll-top closures to squash everything down to size.
And listen, your bike doesn't need to be a high-end model.
A Surly LHT?
Solid choice. 26" rims and 2.15 tires?
You're rolling strong!
DIY enthusiasts, rejoice!
Custom homemade bags can add a personal touch and save some cash.
Is needle and thread not your thing?
Revelate bags are a crowd favorite.
Lastly, let's not forget the gizmos.
A power bank is a godsend for keeping your lights, GPS, and phone juiced up.
Remember, electronic know-how is like a secret weapon in your bikepacking arsenal.
Here's a pro tip: trial runs are your best friend.
Load up and take a spin around the block.
Adjust, refine, and you're all set for the real deal.
Happy bikepacking!
DIY Suspension System

Ever felt every bump on the trail rattling your bones?
It’s time we talk about your bike’s suspension system.
You know, that magical component that makes rides on rough terrain feel like gliding on clouds.
So, you fancy a bit of DIY and want to take your bike’s comfort up a notch?
Let's get those wheels equipped with a suspension that can soak up the bumps.
Adding a Front Suspension Fork:
- Tools You’ll Need: Wrench set, suspension fork, and a sense of adventure.
- Steps to Follow: Remove your old fork, slide in the new suspension fork, tighten it up, and boom – you’re ready to roll.
Sprucing Up the Rear Suspension:
- Materials: Springs or rubber dampers to give you that cushy feel.
- What to Do: Fitting these bad boys into your rear triangle means your behind won’t take a beating from those pesky potholes.
Fine-Tuning:
- Got a shock that’s a bit stiff? Add some air or release some tension! It’s like adjusting a big balloon to give you the exact bounce you need.
Remember, when dealing with suspension, it’s all about achieving that perfect balance.
Think about Goldilocks—your bike shouldn't be too squishy or too rigid.
Ideally, you want it just right.
With upgrades ranging from $35 to $350, you can tailor your ride without breaking the bank.
Check out pedals from Shimano or consider something really nifty like a modern suspension stem with 15-20mm travel.
Now, don’t rush, and make sure you’re setting everything up correctly.
I know it sounds as intricate as getting a rocket to the moon, but with patience, your two-wheeled steed will be moon-bouncing on trails in no time.
So, are you ready to give your bike a serious comfort boost?
Get those tools out, and let’s give those trails something to think about.
Custom Handlebars

Ever thought about giving your bike a bit of a personal touch?
Custom handlebars can be the highlight of your bicycle modifications.
Not only will they earn you some style points, but they can also boost your comfort during rides.
So, how do you start?
First things first, you've got options.
Metal pipes are your go-to if you're aiming for durability and customizable shapes.
You can give them a gentle bend to fit the exact curve you're after.
Got a thing for sustainability?
Why not go for wood?
It adds an unexpected, earthy vibe to your ride.
Here's a little checklist to guide you through:
- Match your style: Drop bars, bullhorns, or something more unconventional—the shape you choose defines the look.
- Measure for comfort: Adjust the width and angle for the best ergonomic fit.
- Select your material: Metal or wood? Each has its own character and benefits.
Fancy repurposing?
Take a pair of old drop bars and flip them to create that minimalist café racer look.
Just make sure to allow room for your brake levers and gear shifters.
Remember to wrap your bars with a cushy grip tape.
Not only does it give you padding where it counts, but it's also your chance to flash some color.
DIYing with carbon?
Be cautious.
It's strong stuff but best left to those who know their way around the material.
Alright, there you have it!
Whether you're reshaping, repurposing, or creating from scratch, custom handlebars can elevate your biking experience—both in style and comfort.
Just don’t forget the golden rule: safety first.
Happy DIY-ing, and enjoy the ride!


.avif)
